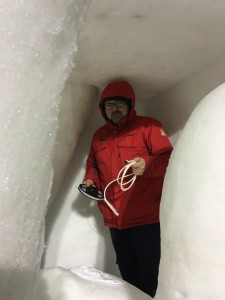
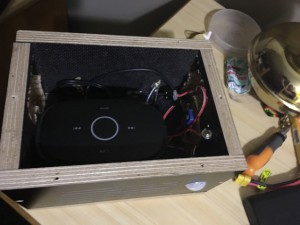
Inside
“Be one” means “Be one” and we took it serious
“Be one” is the worldwide first interactive snow sculpture. We combine snow sculpting art with “maker” art by providing a human interface to influence and control the sculpture.
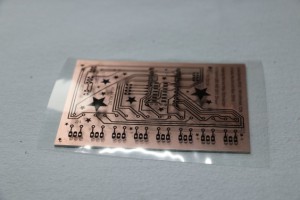
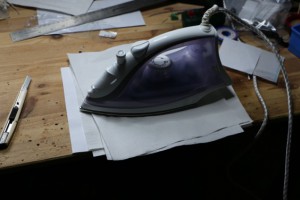
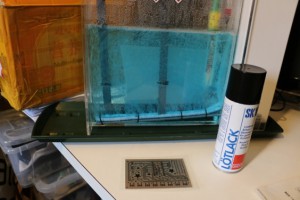
Lothar came to me last year and asked if it would be possible to illuminate a snow sculpture. He explained to me that there is a international competition in February 2016 and this competition has “no rules”. In general snow carving challenges come with very strict rules on tools and what is allowed. This one is totally free so Lothar was looking for something “different”. I told Lothar that there is for sure a possibility and I started my research. After some weeks it was clear that we can illuminate the sculpture. However more ideas came up, especially when Lothar told me the name of the sculpture “Be one”. It was clear for us that we have to do more than illumination and so we said it would be great if the sculpture would interact with the observer. We ended up with a biometric sensor and finally we also added audio. To make this all happen it was clear that we have to pre-build everything at home, keep fingers crossed that we clear customs and make it all water proof. We used custom made controllers and for the ones who are interested in technology here some more details.
The “Be one” Brain
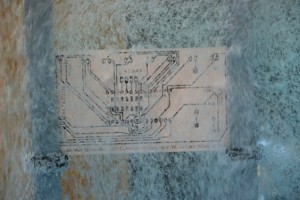
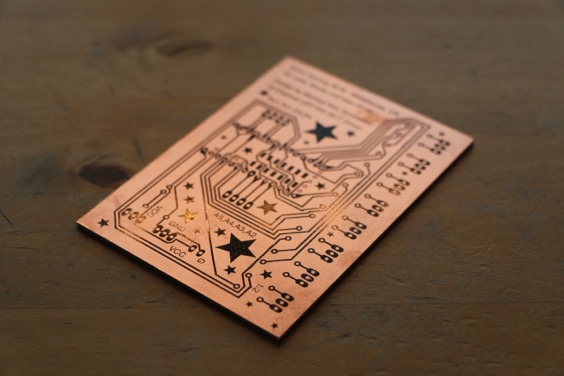
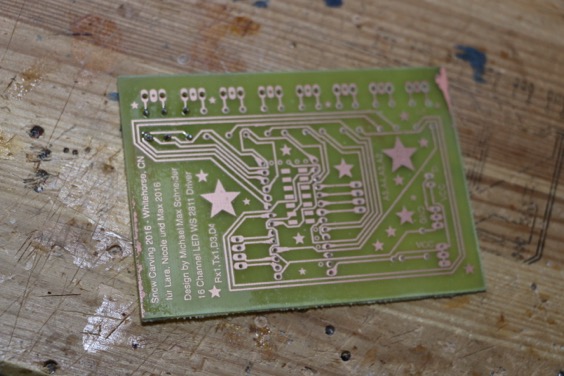
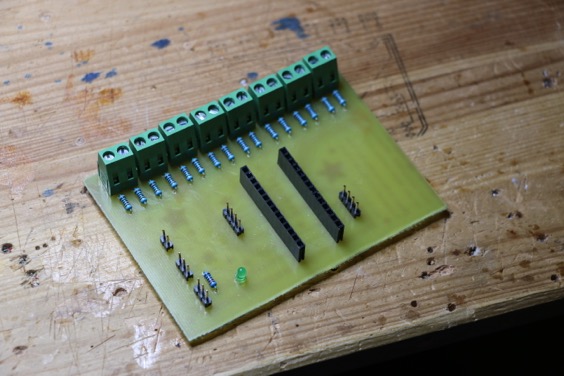
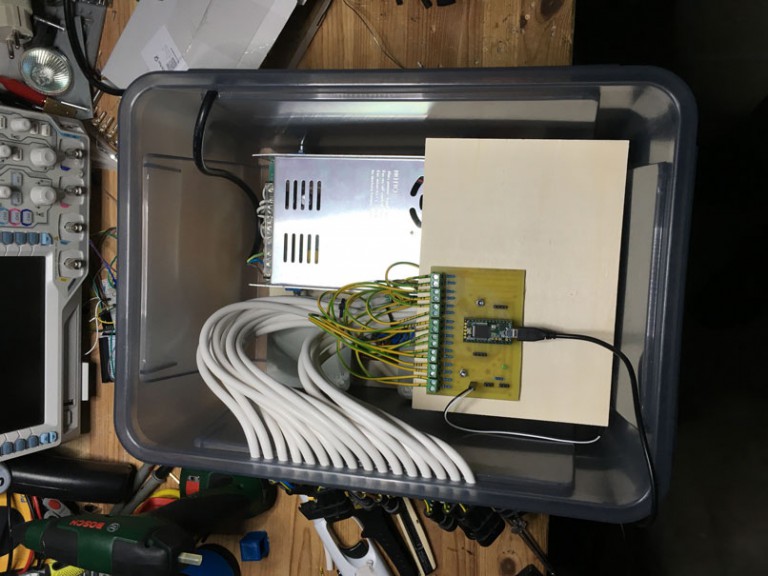
The brain of B1 is a box which we hide in the snow sculpture to power the LED stripes attached. All LEDs are individually addressable which gives us the opportunity to basically display any pattern and color we would like. The challenge here is to program a biometric controlled sequence and even worse, to sync it with audio. “Be one” communicates with the Human Biometric Sensor via bluetooth to prevent physical connection between the powered led driver and the LiPo powered human biometric sensor.
- 2400 individual addressable LED’s, 16 LED strips 5m each
- 32 bit ARM Cortex-M4 72 MHz – Teensy 3.1
- Custom Controller board to be able to address 16 LED Stripes
- Using the great FastLED library of Daniel Garcia and Mark Kriegsmann in parallel output mode to get high frame-rates
- Bluetooth connection to human interface to eliminate the risk of electrical shock
- Custom 600 Watts Power-supply distribution
- Waterproof connectors to connect the “B1 Brain” to 16 LED strips.
- Waterproof Casing
- 50 meter of cabling
- 50 kByte of C code for Teensy
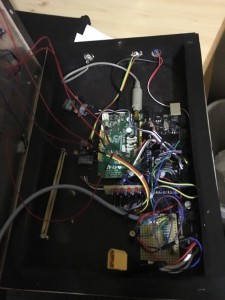
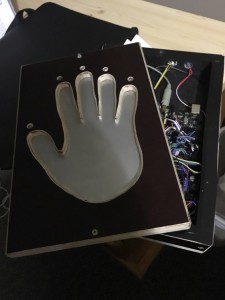
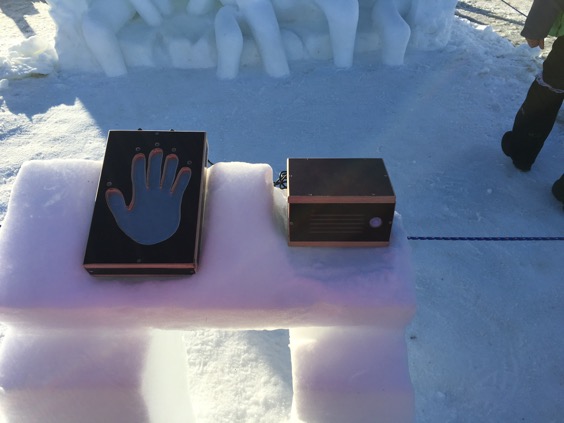
The “Be one” Human Sensor
“Be one” is controlled using a capacitive sensor plate in a beautiful case done by Andy Enderlin. The human biometric sensor uses skin capacity to measure the “mood” of the observer. The value of this measurement will be transmitted via bluetooth to the “Be one”-Brain. Depending on the value “Be one” starts interacting with the observer in a unique way. The human interface is powered by a LiPo battery and comes with two Micro-controller. A classical Arduino Mega to manage the capacity sensor and the bluetooth communication and a LINKIT One to manage Audio output. Arduino and Linkit One are connected by UART.
Sensor
- Arduino Mega 2560 using capacitive sensor library of Paul Badger
- Linkit One with 2GB SD Card for Audio
- 2x BT transceiver, to connect to the control box and to connect to a computer for tweaking the FX
- 7.2V LiPo Battery provided by my son Max. (from his cool RC Car)
- Step down power converter to provide stable 5V with less heat than a classical 7805 (to prevent too much heat in the sensor box -> humidity)
- Since time was an issue the cabling is a bit “adventurous” but hey, it worked and except an broken BT receiver all electronics survived the transport to Canada
- 15 kByte of C code for Arduino Mega
- 2 kByte of C code for Linkit ONE
Warm hands of the people generated lots of humidity on the sensor. Finally this was not a problem. The sensor was very accurate and worked even when people had their gloves on. An automatic calibration was added to the code of the sensor to compensate environmental situations like humidity and temperature. This worked great.
The Soundsystem
Working many years for one of the biggest German Reggae Soundsystem as Sound Engineer I know what it means when we talk about loud and deep. Unfortunately it does not apply to our soundsystem for the sculpture. The focus here was more on a transportable solution than Hi-Fi. However we were impressed about the loudness of this beast. Since Lothar wanted to have the Cello sound I was composing something in the hotel room trying to sync audio with the controller. It is not perfectly in sync but nobody really discovered that. Check out the “Outtakes” section to see how Lothar live performing 🙂
Sound Box
- Kingston One BT speaker
- 20100mA Lipo! To ensure that the speaker don’t give up too early
- Since the audio signal from Linkit One is a bit weak I decided to solder a simple audio pre-amp. Quick and dirty but comes with a amplification of approx. 100. Pre-amp is driven by a 9V Block Battery. I sensed that the pre-amp was not really well dimensioned so there are some heavy distortions. First I thought I have to pull out the calculator again but more and more we liked the analog overdrive. So at the end, we kept it and it added a special audio effect to the sculpture 🙂
Speaker Box

The pre-Amp

The Controller and the Sound System
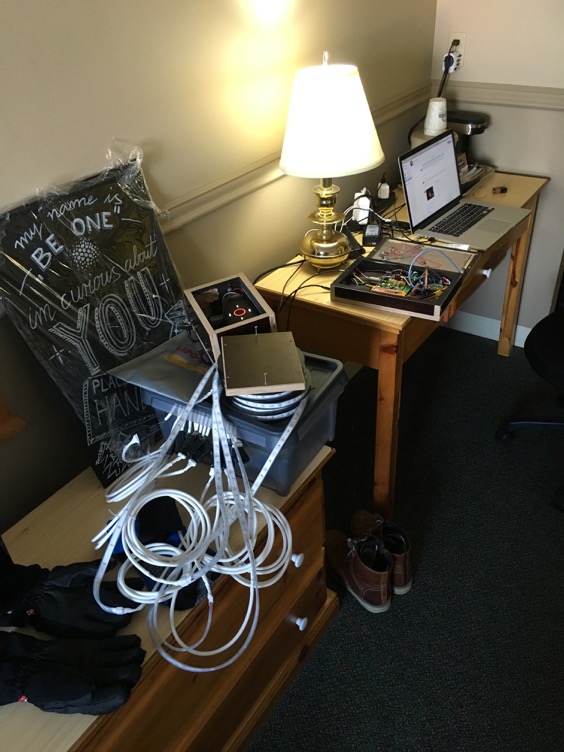
Testing and fixing of broken BT receiver in the Hotel room.

Mike installing WS2812 LED strips